Well, like I said, Eric is the Tau player in our club. A few other guys have the army, but he's the only one who actually plays it, and he does it really well. Lots of respectable finishes in big tournaments with his out of date codex, I'm a little nervous for when the Tau get a new codex, to see what sorts of jankery he comes up with :)
We played at 2000 points.
So, here is his list (please keep in mind that I don't really know upgrades very well for Tau, and don't have his list written down, so this is all from memory. The important wargear is accurate though. Eric, I'm not sure if you read this blog at all, but if you do, feel free to give corrections if you feel like it):
Shas'o w/ Plasma gun, Cyclic Ion Blaster, 2 Shield Drones, Reserves Controller thing
Shas'el w/ Plasma gun, Large Blast S4 shot, 2 Shield Drones, +1 BS wargear
12x Kroot w/ 8x Hounds
12x Kroot w/ 8x Hounds
12x Fire Warriors
6x Fire Warriors
2x Crisis Suits w/ Twin- Linked Auto Cannons (I know they aren't auto-cannons, but they're the same profile, essentially)
8x Pathfinders w/ Marker Lights, Devilfish
8x Pathfinders w/ Marker Lights, Devilfish
3x Broadsides w/ 3x Plasma Guns, Sgt. can shoot at a different target wargear
3x Broadsides w/ Sgt. can shoot at a different target wargear
Hammerhead w/ Ion Cannon
Here's my list:
Wolf Lord w/ Saga of the Bear, Thunderwolf Mount, Thunder Hammer, Storm Shield, Wolftooth Necklace, Wolftail Talisman
Wolf Lord w/ Saga of Majesty, Thunderwolf Mount, Wolf Claw, Storm Shield
Rune Priest w/ Living Lightning and Jaws
3x Wolf Guard w/ Combi-melta, Fist (go with Grey Hunters)
9x Grey Hunters w/ Melta, Wolf Standard, Rhino
9x Grey Hunters w/ Melta, Wolf Standard, Rhino
8x Grey Hunters w/ Melta, Wolf Standard, Rhino (Rune Priest goes here)
4x Thunderwolf Cavalry w/ 2x Storm Shield, 1x Thunder Hammer (one model with both SS and TH)
6x Longfangs w/ 5x Missile Launchers
6x Longfangs w/ 5x Missile Launchers
6x Longfangs w/ 5x Missile Launchers
We rolled for mission, and got Seize Ground with 3 objectives, and standard deployment. You'll be able to see where we placed the objectives in the next picture. I only got to place one, and decided it needed to be near to the one he already placed, but away from the Kroot's ability to get onto the objective.
We decided before the game started that the game would last 6 turns.
I won the roll to go first, and decided that against Tau, even though it's an objective mission, I'd prefer to go first. It means an extra 9" of movement for my wolfstar before he can broadside me to death, which is for sure nice :)
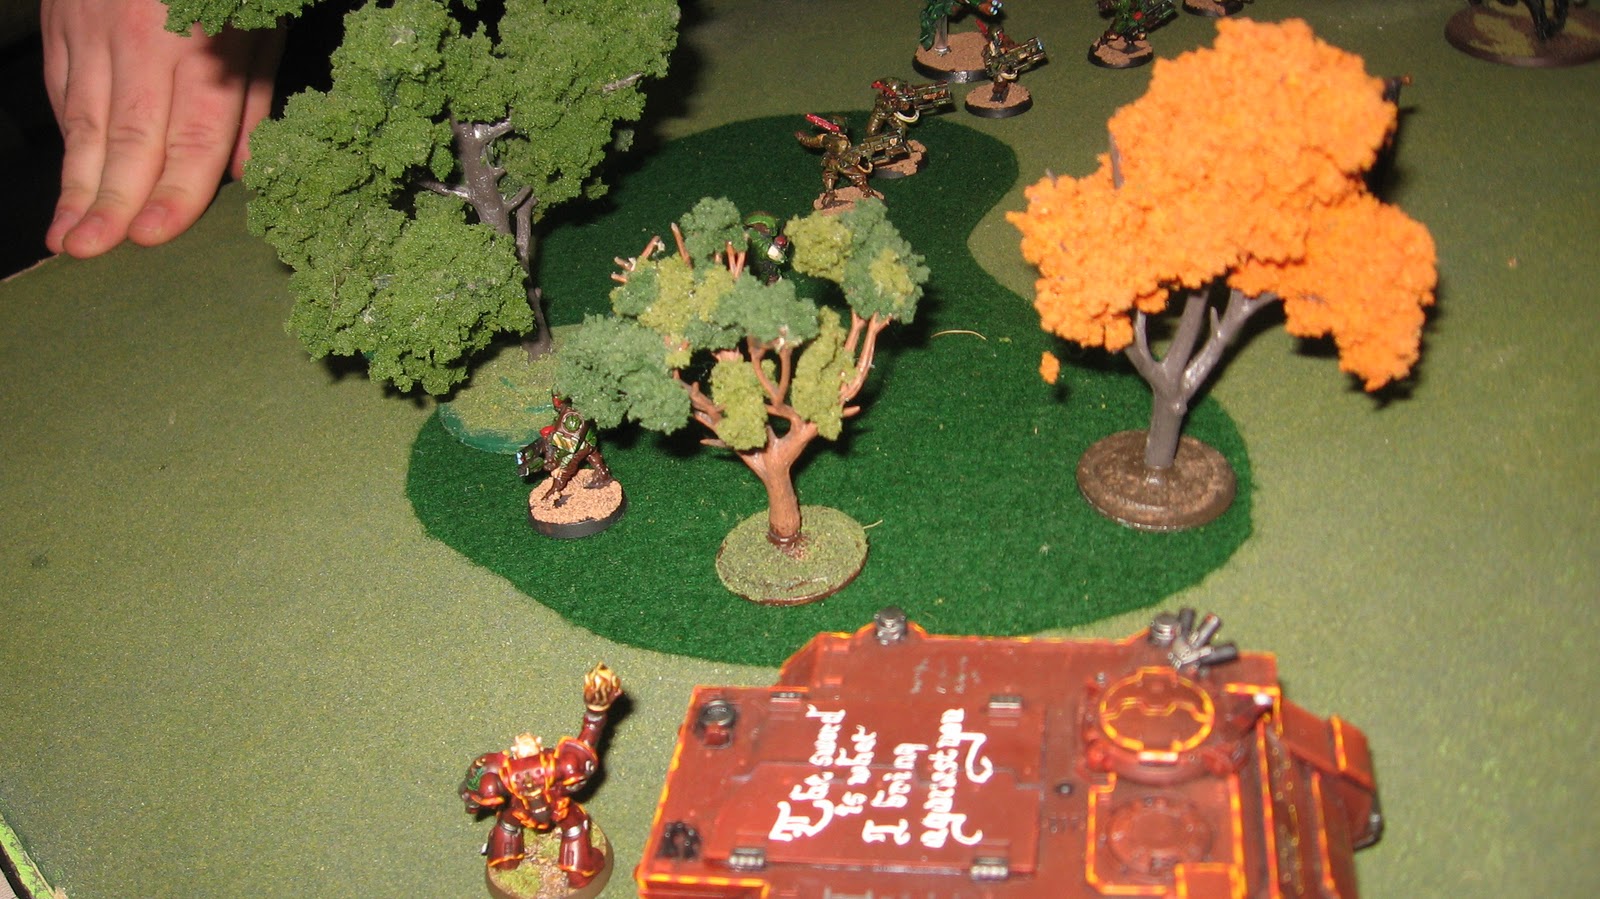
Here's the deployment (as always, IF YOU WANT BIGGER PICTURES, JUST CLICK ON THEM!):

Heh, notice the forests on either side of the table. He put the objectives near the forests on either end, and I put the last one more centerish (near the wrecked rhino). You can't see his squad of 12 Fire Warriors, but they're on that middle hill near the back, behind one of his pathfinder squads. You also can't see the 2nd broadside team very well, they're on the far left, between the hill and the forest there.
I wanted to have to approach the objectives he had, since it would motivate me to actually run up and mess with him, rather than apathetically sit there and try to keep his guys off my objectives. Sometimes you just need to be the attacker. This way I'd be able to devote all my troops to taking the objectives, instead of being forced to leave a squad behind to hold the 'easy to hold' one. In this case, I also wanted to ensure that I didn't cede the far right objective to him by default. I kept a rhino in reserve for this very reason.
His reserves included the 6-man fire warrior squad, a devilfish, and both Kroot squads (one was outflank, the other regular reserves). He rolled to seize the initiative, and... failed. Heh, would have been a sad day for me if he had gotten it.
Wolves Turn 1:
I advanced everything and ran. My right longfangs shot at the IonHead and failed to shakelock it, so the other 10 missiles shot at his leftmost broadside unit (which also held his Shas'o), killing a 2+ drone and a 3+ drone, using the logic that if he has to take a 4++ on his 3+ regualar drones, eventually I'd be able to force a save on his Shas'o, who was attached. Not much else to shoot at, in any case. Rhinos popped smoke.

Not much to see here. I was determined to take that flank.
Tau Turn 1:
He advanced very little, and instead just shot at me, as Tau will do. His first 3 broadsides managed to do 3 wounds, and I was able to fail 2 of the Shield saves ('luckily' one on my bear lord). The next 3 shots caused 3 more, and I failed one more on the bear lord, passed one on my TH/SS wolf, and opted to simply remove one of the regular wolves, rather than risk a 3++ on my Majesty Lord getting insta-gibbed.
His other stuff shot at my rightmost longfangs, killing 2, who failed their leadership test. Woo! Other random shooting at various things didn't do a whole lot. Wolfstar passed their leadership.

At this point, I'm just glad he left my rhinos alone. You can see the layout of his left side a lot better in this picture, if you're interested. Wolfstar is down to 4 of 6 original members, and the Bear Lord is looking grim, with a single wound left on him.
Wolves Turn 2:
I advanced again. My rune priest's ride went the full 12", and I disembarked the Priest alone, who drew a bead on two broadsides, ready to use Jaws. The wolfstar failed their run roll, but would still likely be able to charge the pathfinders on the centerish hill. My reserves didn't come in.
Jaws of the World Wolf was useful, killing two broadsides, AND also killing a pathfinder. The pathfinder would normally not be too much cause for rejoicing, but it forced the unit out of coherency, rendering their marker lights unusable next turn since they're heavy weapons and he'd be forced to move them back into coherency.
As a side note, one of the Broadsides I killed was the team leader who also controlled the drones. When he died, the remaining drone died as well. If I had known that could happen, I'd likely have sent my Rune Priest to try to snipe him turn 1, instead of waiting. That's for sure a huge reason it's important to play lots of games!
Other shooting did okay, killing his remaining broadside on the left, and the Shas'o 's drone, but whiffing on the Shas'o himself.
In combat, my Thunderwolves charged and crushed the pathfinder squad on the center hill.

So, his left flank in Broadside-free. I can't tell you how nice that feeling is, to wipe an entire squad of broadsides out in a single turn with shooting.
I thought this picture would be cool, with the Rune Priest's vantage point of killing the broadsides, but it's not nearly as epic as I had hoped. He's just kinda sitting there eying the pathfinders hungrily, lol.
Tau Turn 2:
Eric got to pick which reserve came in, and chose his devilfish, which he hid on the rightmost corner. He shuffled his other stuff around, and decided to go for the kill on my Wolfstar. I can't blame him :)
A flurry of shooting and horrible saves later, I was left with only the Majesty lord. Everyone else had fallen. He also killed a single Long Fang on the right, and the other two failed leadership (9) again, and ran off the table. Fail of a game for them :)

One thing is sure: the 12 firewarriors you can't see on the middleish hill are sweating about letting the Majesty Lord live.
Wolves Turn 3:
I needed to spend this turn wiping out the rest of his left flank, securing the two objectives there. My reserves still thankfully didn't show up. I decided that killing his Firewarriors on the hill was way more important than killing his Shas'el on the right side of the hill, and moved accordingly. I also made sure both rhinos were out of LOS of the broadsides.
Shooting killed his Shas'o, and that was about it. 5 missiles wasn't enough, and the other 5 were barely enough to kill him. At least now he has to roll for his reserves :)
In assault, my Rune Priest ate the squad of 7 remaining pathfinders, and consolidated. The Majesty Lord ate the squad of 12 Fire Warriors. The Tau should be ashamed of 2 guys butchering 19 of them without doing anything in return, lol. Made me happy though :)

His broadsides have nothing to shoot at :)

Another 'epic' picture of the Rune Priest, alone in the forest that used to be full of pathfinders, broadsides, and drones.
His outflanking Kroot came in, you'll see that they entered on the right side forest, ready to claim the objective nearby. He didn't do a whole lot to me this turn- I think he killed one or two Long Fangs, which I was okay with :)

He also shuffled his stuff around some. Meh. Look at that big old pile of Kroot on that forest. Yuck.
It was time to try to take away his mobility. I zoomed! one of my rhinos up 12" close to his closest Devilfish, turning around and disembarking the guys inside, ready to melta. The Majesty Lord moved hungrily toward his Shas'el. Rune priest got back in his ride. My reserves finally came in, and I decided to just hide behind the hill out of LOS. That way next turn it would be me who got the charge on the Kroot over there.
Shooting went very poorly. I double-whiffed with my 2 meltas, and my 10 missile launchers killed a weapon off the devilfish. I didn't even shake it, lol. Or maybe I shook it, but didn't stun it? Don't really remember, lol
In combat, the Majesty Lord chewed up his Shas'el, and got ready to take two in the chest, one in the head from the broadsides he was threatening.

Not much to see here. Move along. Move along.
Tau turn 4:
He got his other reserves in, but we both forgot his Kroot did until the end of the turn, so we decided they would just come in turn 5. Shooting plinked off a few exposed marines, and the Majesty Lord exploded under the weight of the Broadsides' guns.

His IonHead is exposed to me!
Wolves Turn 5:
The Grey Hunters moved up, ready to assault some drones Eric had dropped from one of his Devilfish. The reserved Grey Hunters moved up in their rhino, getting ready to try and drop the IonHead with meltas. My Rune Priest's rhino repositioned himself to be able to shoot a devilfish.
Shooting killed the IonHead, and my 10 missiles again shook the Fish, but didn't do anything much.

At this point, I'm getting a little nervous. He's still got 2 turns to move his remaining 2 skimmers, and not even all of his troops are on the board.
Tau Turn 5:
His kroot walked onto the table, and he shot stuff at me, killing both exposed rhinos, and a few troops. His shaken Devilfish tankshook my central Grey Hunters, who failed leadership, and started running, likely never to return.

Where the Grey Hunters are on that hill is after I had fled them a 2nd time (during my turn).
Wolves Turn 6:
Well, that was a huge turn for him, since he was able to kill most of my mobility, and force my Grey Hunters to flee. I had to make sure I had the best shot at winning this turn. Luckily, I still had some tricks up my sleeve. My rightmost Grey Hunters would be risking a run roll to be able to grab the objective, so I instead moved them up, in preparation to assault his Crisis Suits. The Grey Hunters got out of their one healthy rhino, but the Rune Priest stayed inside. The rhino itself moved up behind the other wrecked rhino, gaining a cover save and contesting the objective. He would need to kill both the rhino and the priest to claim the center objective.
Shooting went a little better for me, the fleeing squad's melta shooting down his Devilfish. Missiles went about their failing ways once again however, failing to even kill 2 fire warriors to force a moral check.
Assault I was proud of- the Grey Hunters on the bottom were able to assault his suits, but since I wasn't able to get all my models into base to base, so I was able to get one guy 1 base length closer to the objective. When I won combat and rolled a '1' for consolidation, it barely got me into 3" range of the objective. If I hadn't done that last combat move, he would have been able to walk onto the objective there unchallenged.

Brace yourselves, Grey Hunters! Kroot want your power armor for themselves!
Tau Turn 6: (final turn)
He started off with an attempted tank shock to my Grey Hunters on the right objective. I death-or-gloried with my melta, and exploded it. It killed a single dude, and a single Kroot who had ventured too close.
Shooting he failed to kill my Rhino in cover, and got ready to assault it. His fire warriors ran onto the central objective my rhino was contesting.
In assault, he failed to kill my quick-moving rhino. The Kroot on the right fought hard, and though I did a good job of failing saves, I still won the day there, killing 8, in return for 5 Grey Hunters. He needed a 4 to hold, failed it, and I ran him down.

The epic final battle, with the casualties of each side piled up above it.

A final, somewhat weird picture of the table at games end.
So, I ended up winning the game, 2-0 on objectives. A very hard-fought game, Eric made it very close indeed!
So, what did I get out of the game today?
I learned today that if you use Jaws against the Team Leader who has Shield Drones, you can kill all 3 with one shot. Also, taking a single model out of coherency in a squad that has heavy weapons is pure win, with Jaws.
The Rune Priest was for sure my MVP, killing broadsides, pathfinders, and eventually securing the middle objective so that it wouldn't be claimed on me.
My Wolfstar didn't smash face against Eric, due in part to bad rolling, and due in part to Eric playing it well. My Majesty lord still killed 3 units total, and in my opinion, the most important thing that happened was that they took the attention off my rhinos, letting them get to where they needed to be. The Wolfstar was valuable in the game, just not in the way they normally are ;-)
Also, in combat vs. Tau, I also learned that Grey Hunters are all you need- even one model is enough to take out most Tau units (besides probably Kroot). Likely everyone already knew that, but I still found the Tau to be remarkably squishy :)
So, a very hard-fought game against another great (and fully painted!) opponent. Those Rail Gun shots are pretty scary- if I played Tau, I'd for sure be running 2 units like that. Anyways, gotta go do some homework.
Thanks for reading! Hope you liked the report. Feel free to ask questions or comment :)
2 comments:
Oops, accidentally removed first post.
Hey, I'm the Tau player. In my opinion my biggest mistakes were not realizing that Jaws could knock my pathfinders out of coherency and where I moved my crisis suits on turn 5.
If Jaws hadn't knocked my Pathfinders out of coherency, I think I could have finished off the entire Wolfstar with markerlighted shooting.
I also shouldn't have moved my Crisis team into assault range of the gray hunters. I was thinking to try tempting them off the objective with the charge, but they were much too close. Even rolling a 1 for consolidation, the gray hunters got in range of the objective. I really needed their flamers on the last turn to soften up the gray hunters.Hey, I'm the Tau player. In my opinion my biggest mistakes where not realizing that Jaws could knock my pathfinders out of coherency and where I moved my crisis suits on turn 5.
If Jaws hadn't knocked my Pathfinders out of coherency, I think I could have finished off the entire Wolfstar with markerlighted shooting.
I also shouldn't have moved my Crisis team into assault range of the gray hunters. I was thinking to try tempting them off the objective with the charge, but they were much too close. Even rolling a 1 for consolidation, the gray hunters got in range of the objective. I really needed their flamers on the last turn to soften up the gray hunters.
Post a Comment